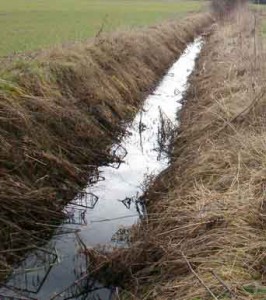
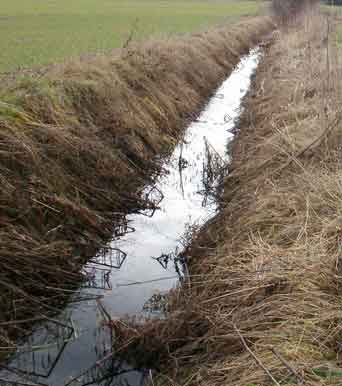
 When I first started quilting this was one of the first questions I asked”what is stitch in the ditch?”.
It’s one of those strange bits of terminology that crop up in quilting and although it sounds strange, it does have a simple explanation. When I first heard the term, I had images of quilting groups lined up in a ditch all sewing away!
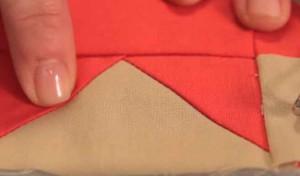
 It really is very simple,the ditch is the seam between one piece of patchwork and another, basically, where 2 pieces if fabric meet. You sew along the “shallow” side of the seam preferably using a walking foot.
You can use a regular presser foot but the finished result wont be as neat. On the reverse side, because of uneven feeding, your stitches wont be “in the ditch”.
How to use Stitch in the Ditch
Mostly this method is used to make stitches almost invisible by sewing very close to the seam, however, you can use this method in a couple of ways:
- use a matching or invisible thread so stitches are barely visible
- use a contrasting thread color to add to the design of the quilt
Bear in mind that you will see the stitches on the reverse of the quilt so when you’re using stitch in the ditch for the first time it’s better to use a matching thread.
It can be fiddly and time consuming using stitch in the ditch depending on your pattern blocks. For straight forward blocks like a 4 patch or a 9 patch it’s very effective. When you start getting into more complex patterns like a pineapple or carpenters square, the stitch in the ditch method isn’t so good to use.
The best way to learn this method is to see it in action so I’ve found a great video by quilting expert Mary Fons of the Fons Porter team. There are a few adverts at the start but stick with it, it really is a good video!

